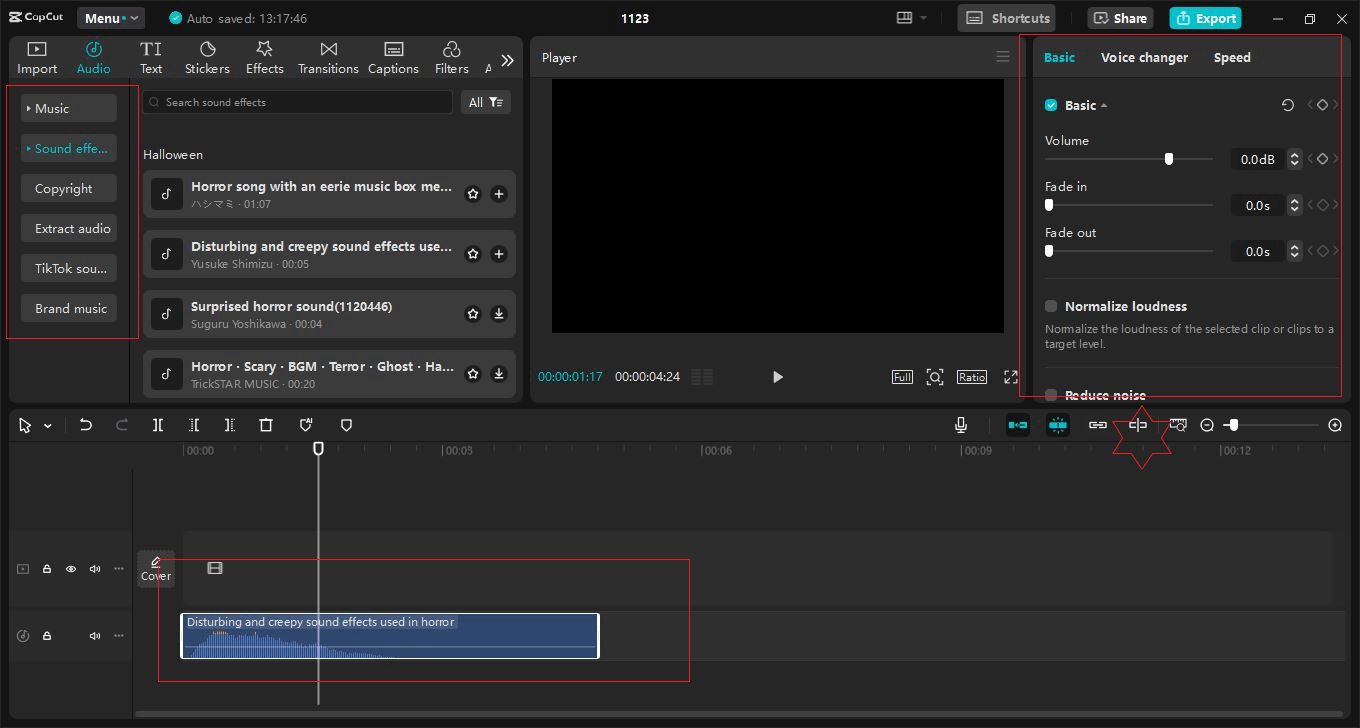
Adding music and videos in the CapCut Desktop video editor edition can elevate your editing to professional standards, but it requires precision, creativity, and a dash of patience. Whether you’re working on a promo video, a movie trailer, or a music video, here are some tips that can help you improve the synchronization of music and visual elements.
1. Plan Your Edit Around the Beat
Before you even start, listen to your music track and identify key beats, drops, or tempo changes. If your video aligns with the rhythm of the music, it will feel smoother and more engaging. In CapCut video editor for pc, use the following steps to plan effectively:
Preview the music track: Listen carefully to the given audio track in CapCut and try to locate strong beats or points of transition or emphasis.

Add markers: Use CapCut’s timeline markers (press M on your keyboard) to tag these critical points for easier synchronization later.
2. Leverage Auto-Beat Syncing
CapCut Desktop video editor includes powerful tools like Auto Beat Sync that detect beats in your music and generate markers automatically. Here’s how to use it:
- Import your music track.
- Right-click on the track in the timeline and select Auto Beat Sync.
This feature saves time and ensures that your edits are rhythmically accurate.
3. Cut on Action for Maximum Impact
When syncing music to video, cutting on action can create dynamic visuals. For example, a dancer’s leap, a car’s tire screech, or a confetti explosion should align with a strong beat or crescendo in the music.
- Slow-motion clips: If using slow motion, adjust the speed to match the music’s pace. CapCut’s speed adjustment tool makes this easy.
- Fast cuts: For high-energy tracks, keep transitions quick and synced to the beat for a professional montage effect.
4. Experiment with Slow Motion and Speed Ramping
Using the CapCut desktop video editor is quite simple; it has an amazing speed-ramping tool that allows you to speed up or slow down a video while still being in sync with the selected song.
- Select your clip and click Speed > Curve.
- Choose a preset like Montage or create a custom speed ramp.
- Ensure key transitions in the speed ramp coincide with beats in the music.
- Speed ramping adds a polished, cinematic touch to your edits.

5. Align Visual Effects to Musical Cues
To ensure that your changes seem very professional, synchronize flashing effects such as flashes, color changes, captions, or transition themes. CapCut Desktop offers an array of effects that can be synced effortlessly:
Flashes and strobe effects: Use these for sharp beats in electronic or high-energy music.
Color grading shifts: If you are aiming for an emotional appeal, align the shifts of colors with softer rhythms in the soundtrack.
Keyframe animations: Add slight movements or transitions with keyframes to match the changes in the music with different tools of CapCut.
AI Caption Generator: Interestingly, CapCut has an AI caption generator for creating on-screen captions that can fit the flow of the song in your video or the dialogue in a film. The font, color, and even the animation can be adjusted to make the captions more of the visual narrative.
Text-to-Speech AI: You can also explore CapCut’s text-to-speech AI to generate voiceovers that complement the music and visuals. Sync the AI-generated voice with the rhythm of your video to ensure smooth integration.
6. Layer Multiple Tracks for Depth
Sound effects: Make your video come alive by syncing sounds like footsteps, door slams, or rustling leaves to specific actions or beats in the music, drawing the viewer deeper into the scene.
Ambient sound: Add gentle, natural sounds like waves lapping on a shore or birds chirping to create a soothing background that complements your music.
Volume mixing: Take time to adjust the levels of your audio layers so they work together harmoniously. Let the music shine without drowning out the subtle details of your ambient sounds and effects.
7. Preview, Adjust, Repeat
Finally, preview your edit multiple times to spot any mismatched timings or awkward transitions. Use CapCut Desktop’s playback tools to review the project:
- Play the video in real time to check the overall flow.
- Slow down playback to inspect individual beats.
- Use the Export Preview feature to test how the final video will look and sound.
Conclusion
Syncing music and video in CapCut is all about precision and creativity. You can start by planning your edit carefully—knowing the vibe you’re going for makes a huge difference. Take advantage of tools like Auto Beat Sync to match the beat effortlessly, and don’t forget to fine-tune your timing using the waveform view and frame-by-frame adjustments. With a bit of patience and a creative touch, you can craft videos that really grab your audience’s attention. Have fun editing!